Eclipse Workspace Setup
Learn how to set up an Eclipse workspace for platform development.
On this page:
Overview
This document describes how to set up an Eclipse workspace for platform development. This includes custom policies and activities for the API Gateway.
Prerequisites
- Platform installation: This configuration guide assumes that you've already installed the platform. If you need help installing the platform, refer to the Installation Guide. See Installing the Akana API Platform.
- Eclipse installation: Install the Eclipse IDE for Java EE Developers. See https://www.eclipse.org/downloads/packages/.
Configure the default JRE
-
Download and install a Java JDK v17. Set it as the default in Eclipse by selecting Preferences > Java > Installed JREs. Add the installed JDK and select the checkbox, making it the default.
-
Configure the compiler compliance level for 17 by selecting Preferences > Java > Compiler. Choose 17 from the dropdown:

Configure the OSGi Target Platform
The Akana Platform is based on OSGi, and any custom development is therefore built as a plug-in. To facilitate this, a Target Platform must be configured.
- Create a new Target Platform by selecting Preferences > Plug-in Development > Target Platform. Click Add.
- Initialize the target definition with Nothing. Click Next.
- Specify a name, such as Akana. Click Add.
- Select Directory as the source of plugins. Click Next.
- At this point, it's advisable to create a reusable variable that points to the /lib directory of your platform installation. To do this, add a variable by clicking Variables.
- Add a new variable by clicking Edit Variables. Click New.
- Fill in the name of your variable (for example, akana_lib) and browse to the /lib directory of your platform installation. Click OK. Click OK again.
- Select your new variable from the list and specify the appropriate suffix for your version of the container. For example, {akana_lib}/2022. Click Finish.
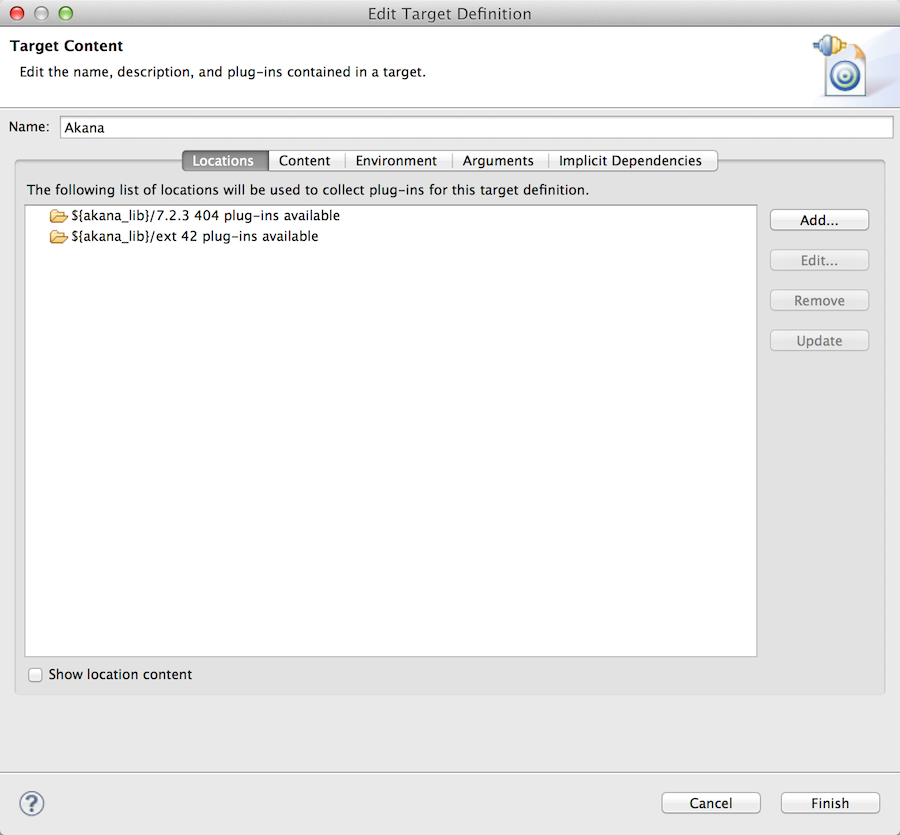
- Repeat the process to add {akana_lib}/ext, {akana_lib}/api/{version}, and {akana_lib}/platform/{version} to the Target Definition. Click Finish.
Your Target Definition will look something like the example below.
