Using SAML for Single Sign-On in the Akana Platform
Instructions for configuring a SAML Web SSO domain and enabling single sign-on login for Community Manager.
On this page:
- Prerequisites
- Configuration on Policy Manager
- Configuration on Community Manager
- Steps to Verify the SSO configuration
Prerequisites
Before you begin:
- Install the SAML 2.0 Web Browser SSO Service Provider plug-in on the Community Manager container.

- Install the SAML 2.0 Web Browser SSO Service Provider UI plug-in on the Policy Manager container.

- Generate the metadata.xml file from your SAML identity provider.
Configuration on Policy Manager
- Log in to Policy Manager.
-
Under Configure tab, select Security and then select Identity Systems.
-
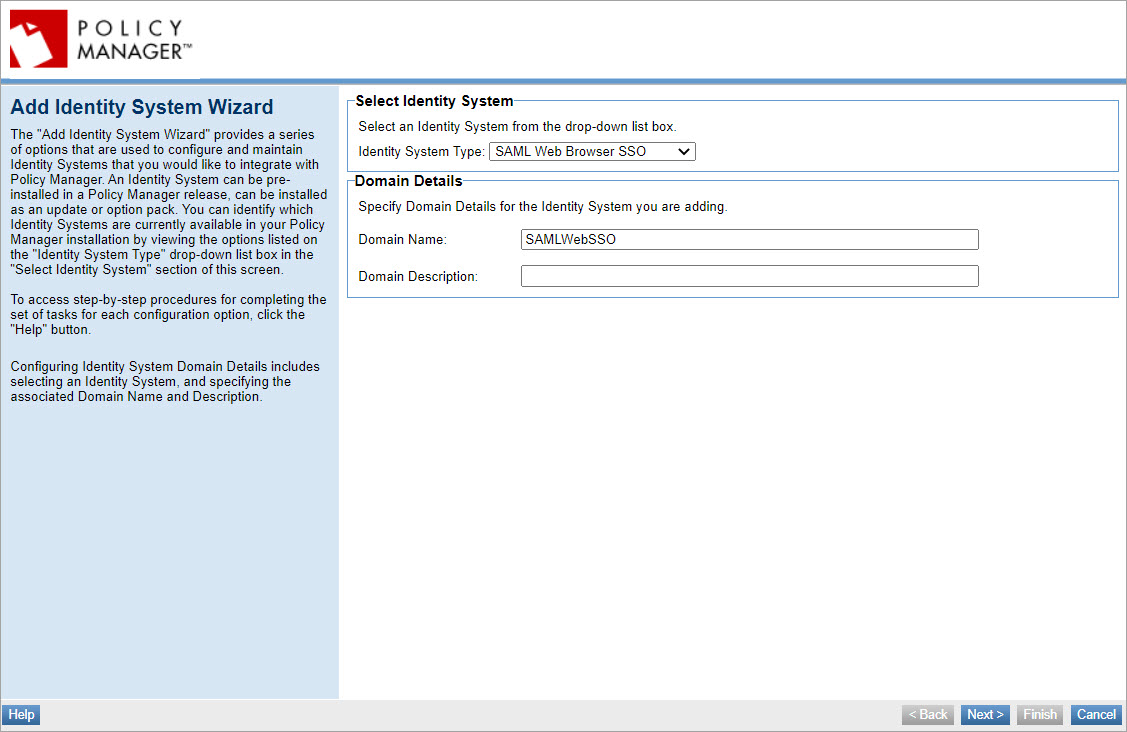
Click Add Identity System to access the Add Identity System wizard.
- From the Identity System Type drop-down list, select SAML Web Browser SSO.
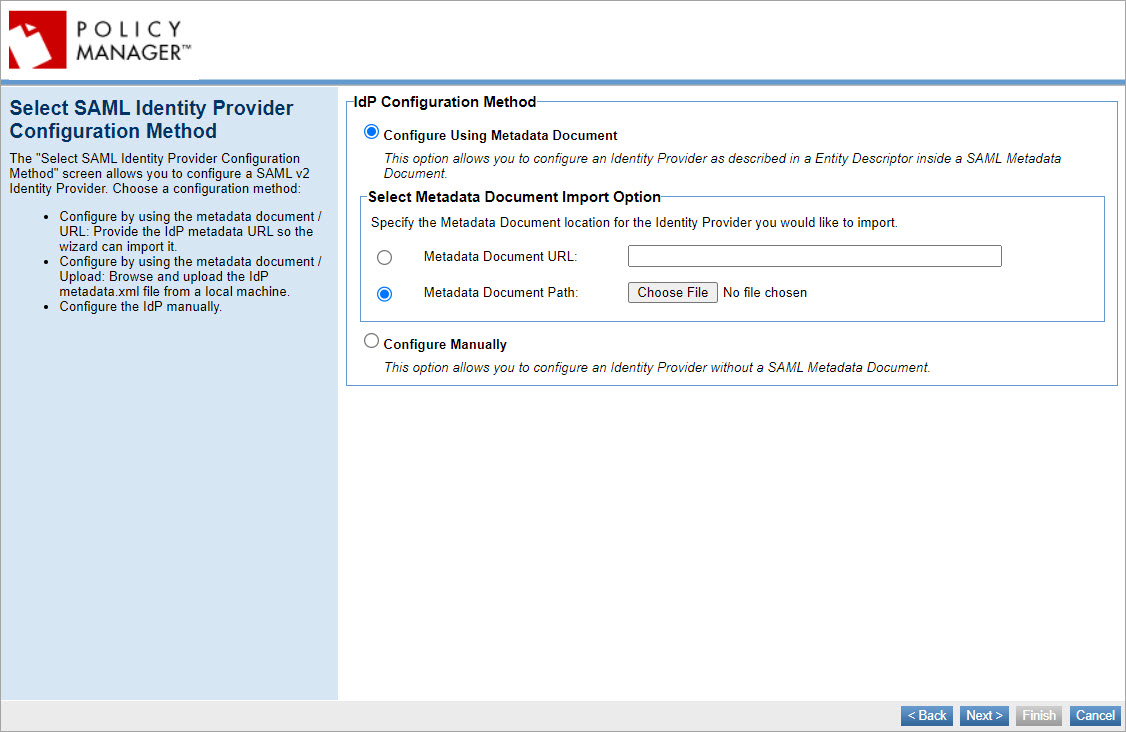
- Upload the metadata.xml file from your SAML identity provider, and then click Next.
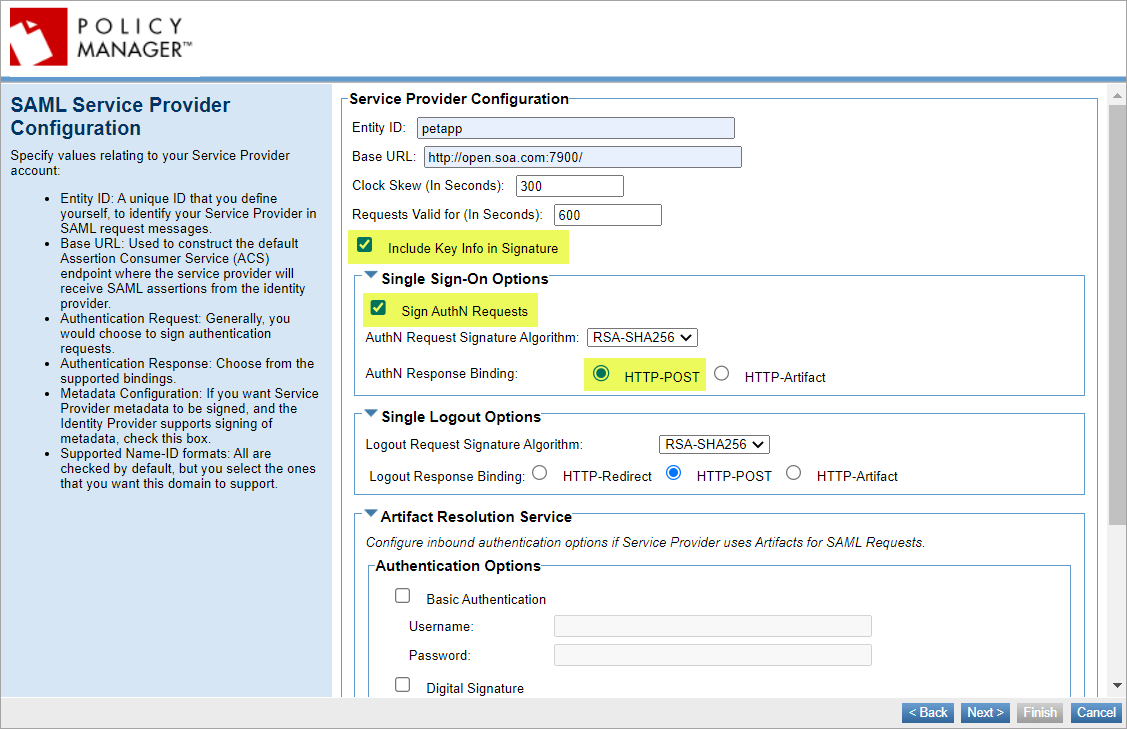
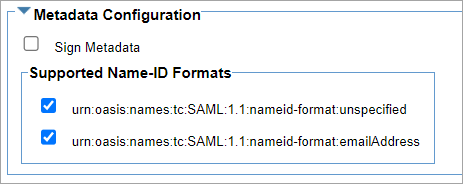
- If the Entity ID is not automatically populated then enter the entity ID. Select the appropriate Authentication URLs, Logout URLs, and SAML Signature Policy.
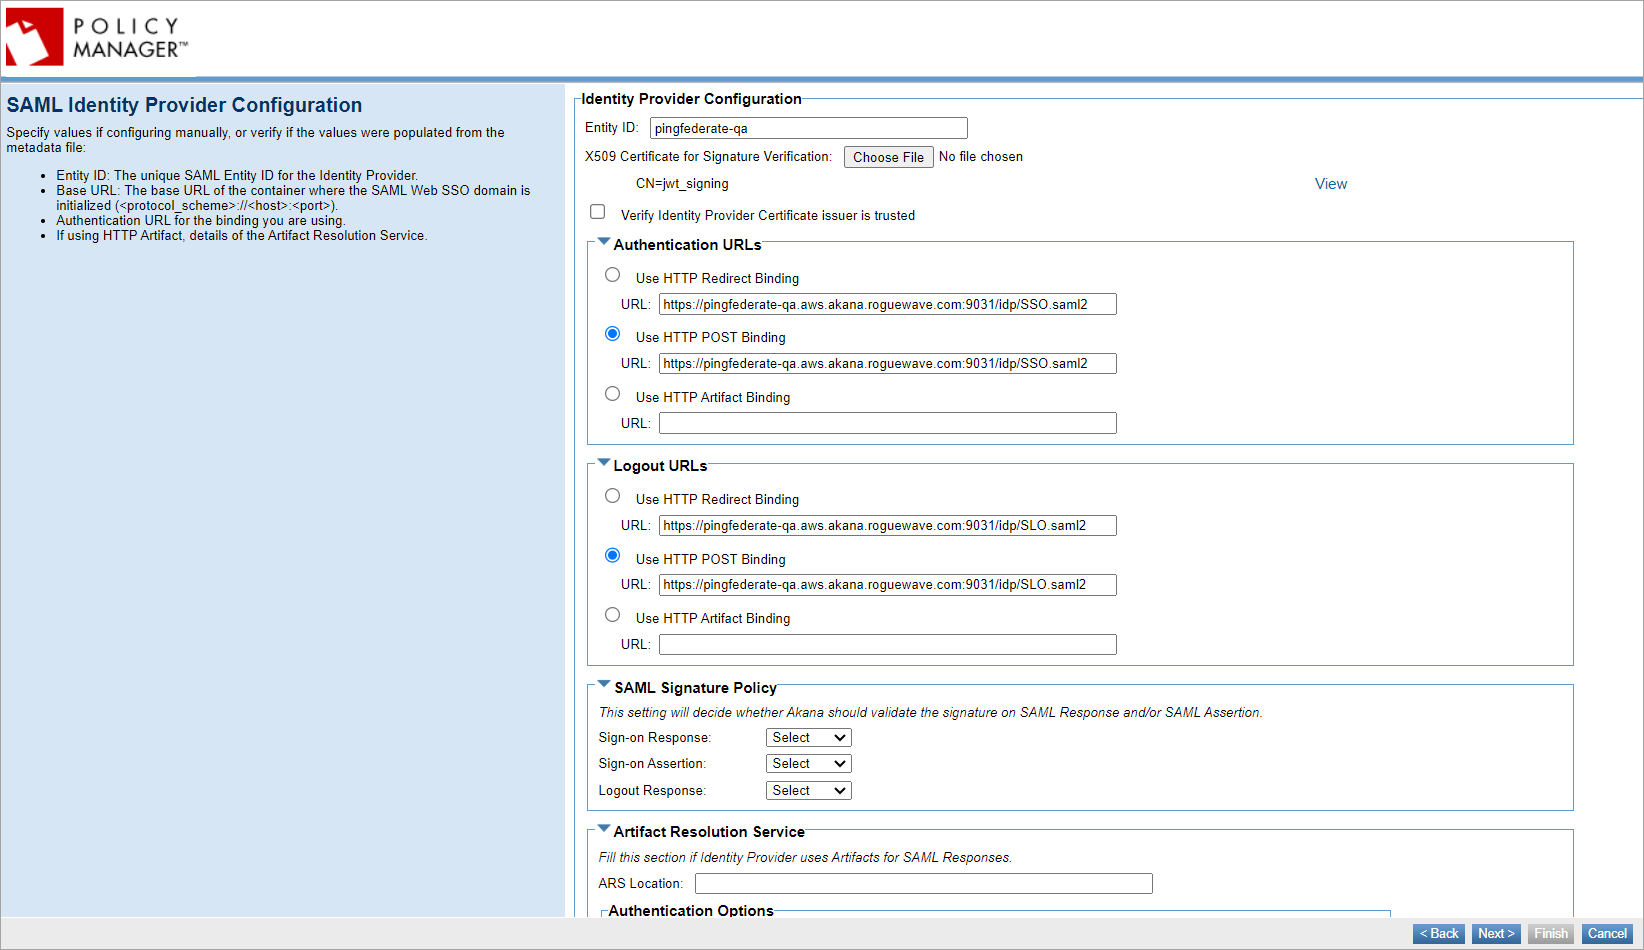
- Make sure to include the highlighted options with the correct values and that the Entity ID and Base URL values match the values from your SAML identity provider.
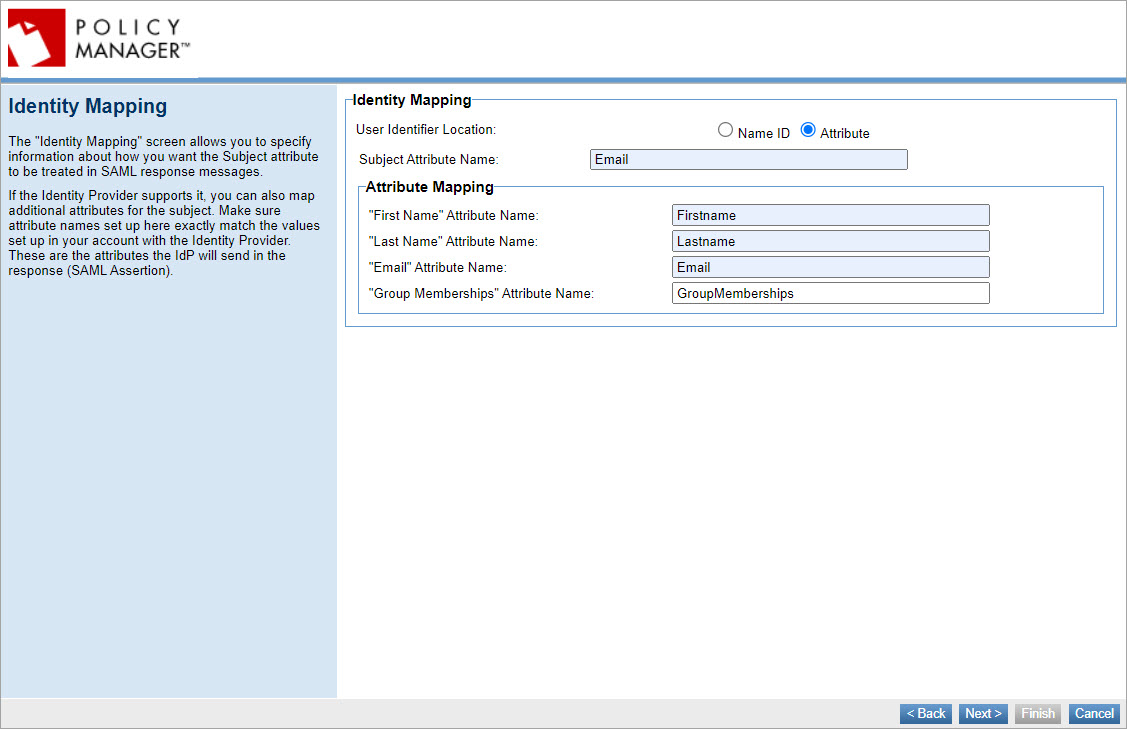
-
Identity Mapping must match with your SAML identity provider's configuration.
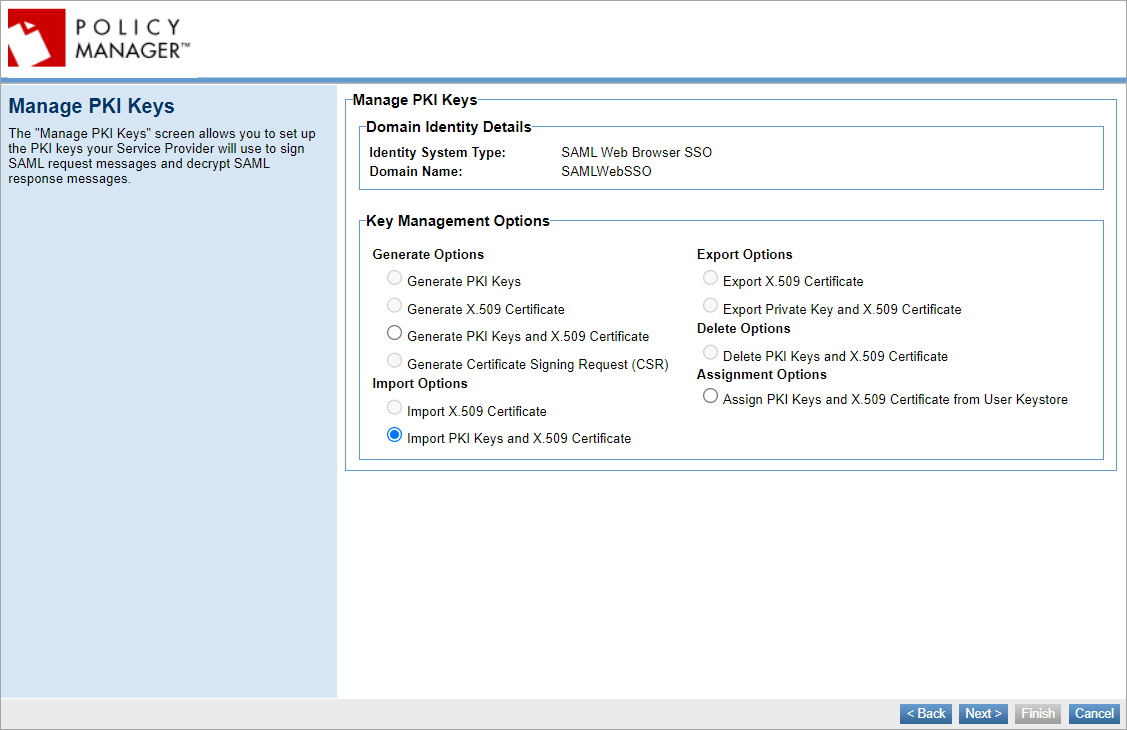
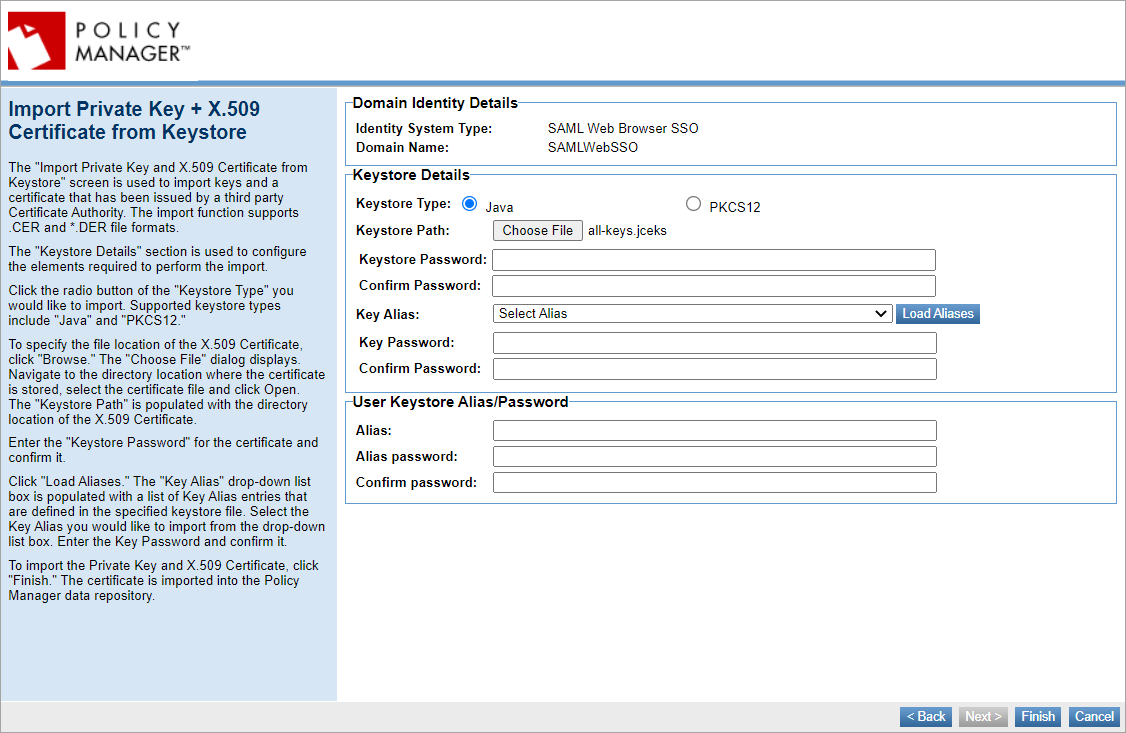
- Generate a self-sign certificate and upload the certificate to your SAML identity provider (or use the Import PKI Keys & X509 Certificate feature and upload the certificate to your SAML identity provider).
You can also use Assign PKI Keys and X.509 Certificate from User Keystore option to assign keys from an external keystore. The Assign PKI Keys and X.509 Certificate from User Keystore assignment option is only available if you have downloaded the External Keystore feature. For more information, see Using the JCEKS as an External Keystore or Using the HSM as an External Keystore to configure an external keystore using the JCEKS or HSM for storing and managing Policy Manager PKI keys and certificates.
- Under Keystore Details, click the keystore type to import the keys and specify the keystore password. Select Load Aliases if you want to define an alias and enter the password. Click Finish.
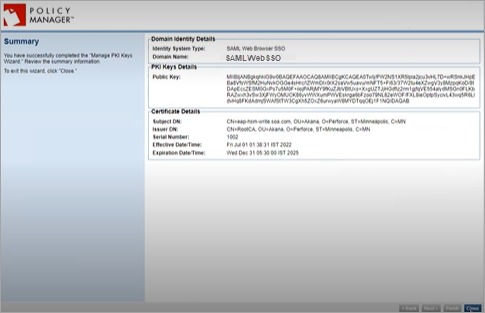
- Click Finish to view the summary of domain identity details, PKI keys details, and certificate details.
Configuration on Community Manager
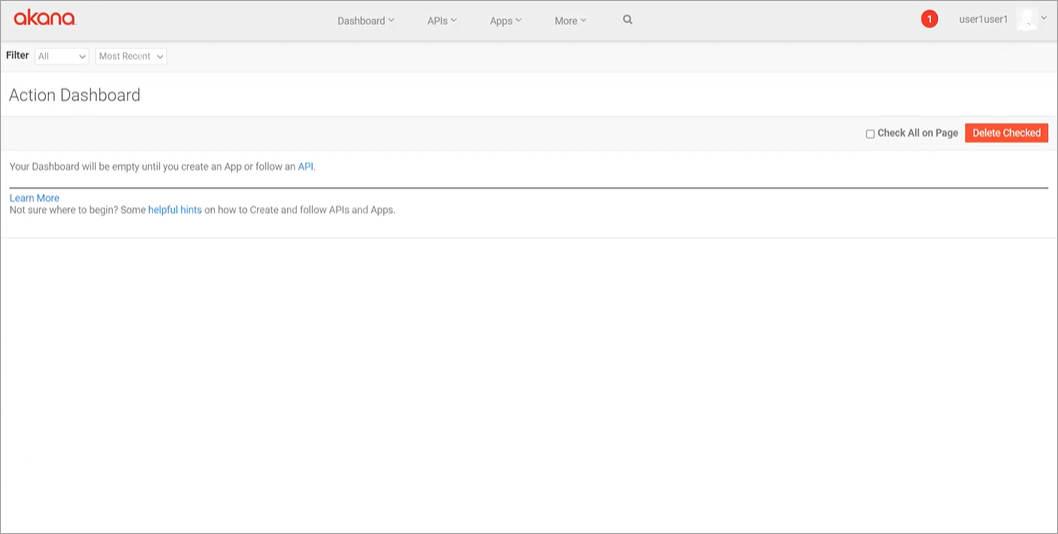
- Log in to the Community Manager developer portal.
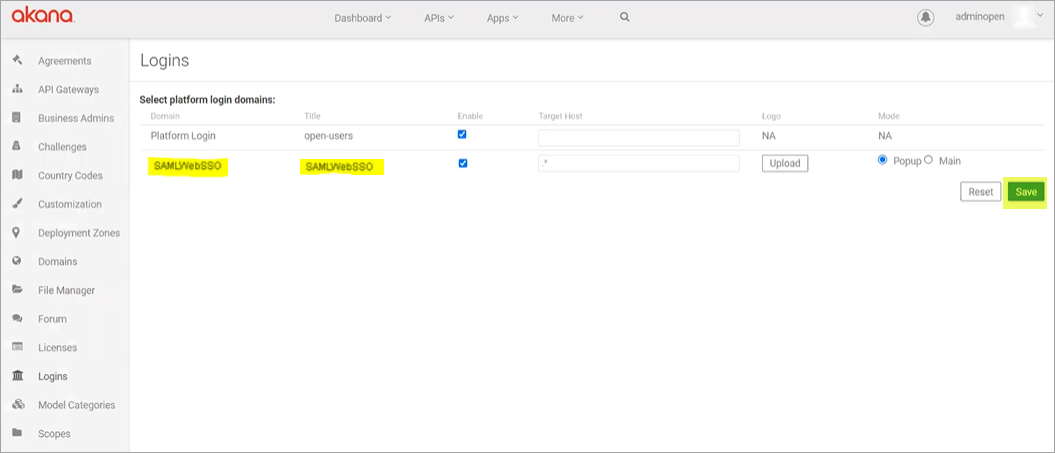
- Go to More tab, select Admin, and then select Logins.
- Select the check box next to the SAMLWebSSO domain to enable it as a platform login domain and then click Save.
- Optional, required only if the same LDAP is used and users are already logged in to CM with LDAP domain. In the database, move all the users from the LDAP domain to the SAML Web SSO domain.
Steps to Verify the SSO configuration
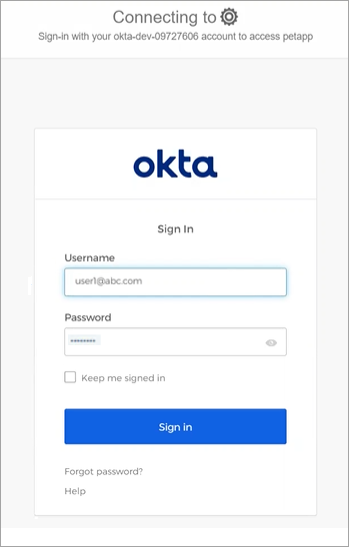
- In the Community Manager developer portal log in page, select the SAML login domain.
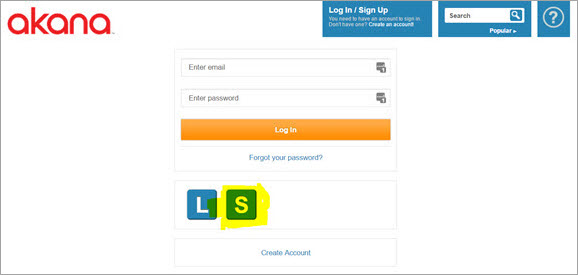
- Verify that the user is taken to the SAML SSO login page for your provider. Enter the credentials and then select Sign In.
- Verify that the user is successful in logging in to Community Manager using the credentials configured for SAML.