Using Akana Envision
Learn how to install the Envision Standalone Analytics Manager UI and associated services.
Supported Platforms: 8.0, 8.1
Supported Envision Versions: 1.0, 1.1
On this page:
Introduction
This feature installs the Envision Standalone Analytics Manager UI and associated services.
See Installing Envision for complete end-to-end installation instructions including installing MongoDB, configuring a container, configuring sample datasets, launching the Envision Console.
Configuration
- Launch the Administration Console (http://hostname:port/admin/).
- On the Available Features screen, select Feature from the Filter menu.
- Select the Akana Envision feature and click Install Feature.
- After the installation is complete, click Configure and continue.
- On the Configure MongoDB Database screen, specify the host name and port where the MongoDB database is installed in the MongoClientURI field. The default MongoDB port is 27017.
- Click Finish. The URI is assigned and the system automatically configures seed data and installs schemas and tables.
Configuring Time Zones
After upgrading to Aggregation Rollup Strategy, if you want to update the Envision time zone settings, then follow these instructions:
To configure Envision Global Time Zone
Log in to the Akana Administration Console.
On the Configuration tab, under Configuration Actions, select Configure Envision TimeZone.
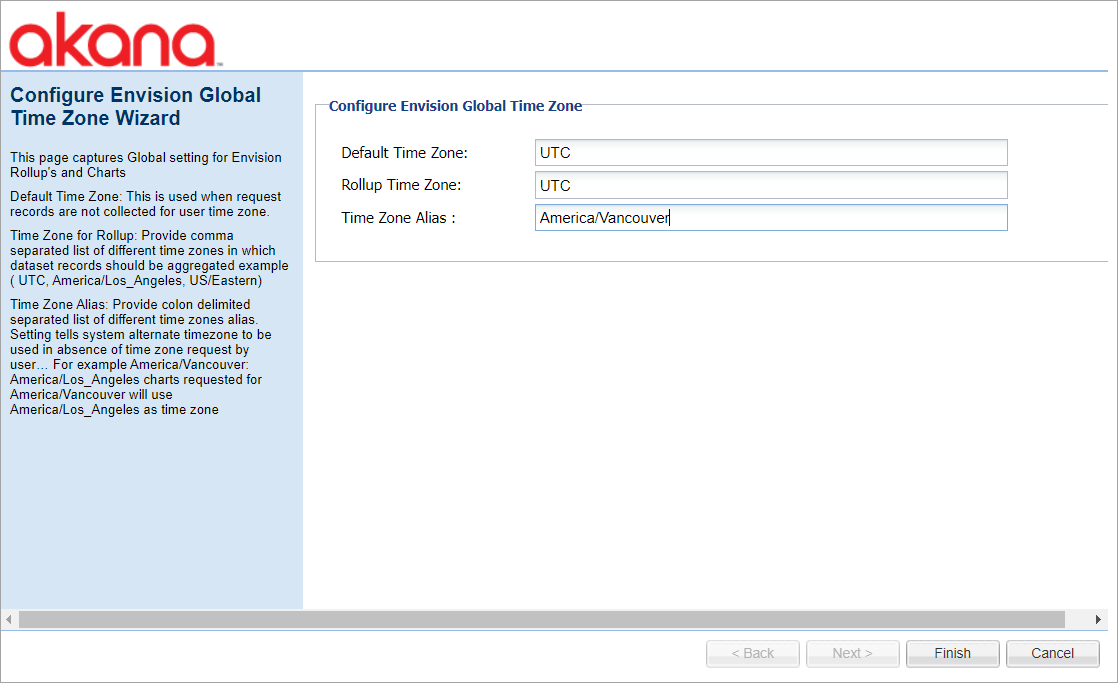
Specify the default time zone, rollup time zone, and time zone alias.
Click Finish.
You can also run the script and envision-upgrade-to-aggregation.json recipe to update the aggregation pipeline configuration for Envision datasets, see Upgrading Aggregation Criteria using an Automation Recipe.
For MapReduce, you can update the time zone values in the Configure Envision Global Time Zone wizard to configure time zones to be used for Envision rollups and charts without using the automation recipe.