Using the Metrics Policy
Learn how to collect rollup data on specific services/operations using a Metrics Policy.
For information about using policies in the context of the Community Manager developer portal, see Business Policies.
On this page:
Introduction
The Metrics Policy is an Operational policy that allows you to collect roll-up data for selected services/operations that the policy is attached to. A Metrics Policy is useful for:
- Database Space Conservation: Roll-up data on a large number of services can take up a significant amount of database space. Designating specific services/operations where roll-up data will be captured reduces the chance of receiving out-of-memory database exception errors.
- Granular View of Service Activity: You might have a set of services that include specific operations you want to monitor at a more granular level (for example, to track service level or volume of activity).
This is how it works:
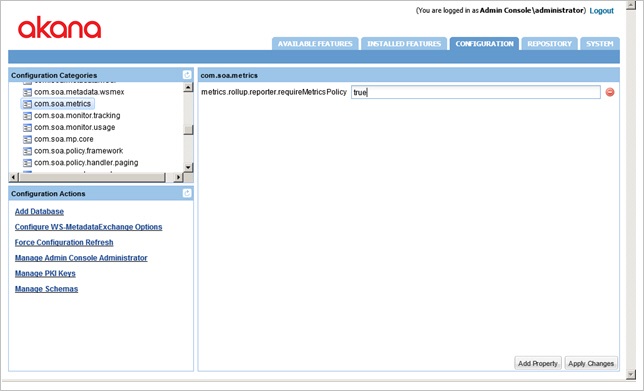
- Roll-up data is controlled in the Network Director or Agent container by the following configuration setting: Akana Administration Console > Configuration > com.soa.metrics configuration category > metrics.rollup.reporter.requireMetricsPolicy property.
- By default, the metrics.rollup.reporter.requireMetricsPolicy property is set to False. This means that roll-up data is collected for all managed services in Policy Manager. Roll-up data can be viewed in the Logs, Real Time Charts, and Historical Charts in the Services > Monitoring section.
- To change the roll-up data collection approach, change the property state to True, create a Metrics Policy in the Policy Manager Management Console, and attach the policy to any service or service operation you would like to capture roll-up data for.
Configuration
Let's take a quick walkthrough of the Metrics Policy configuration process to get you started.
Step 1: Change Roll-up Data Property
- Launch the Akana Administration Console for your Network Director instance.
- Select the Configuration tab.
- In Configuration Categories on the left, choose com.soa.metrics. The default status of False indicates that roll-up data is currently being captured for all managed services.
- Change the state to True and save.
Step 2: Add Policy / Use System Policy
- In Policy Manager, to create a Metrics policy instance, go to Policies > Operational Policies and choose Add Policy.
Note: The Metrics Policy does not require any configuration.
Step 3: Activate Policy
When the policy configuration is complete, activate the policy so that you can use it.
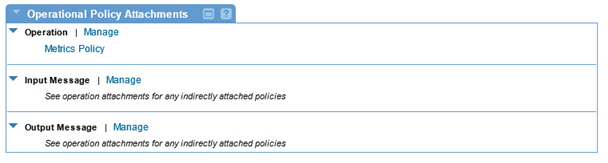
Step 4: Attach Policy
After you've saved and activated your policy, you can attach it:
- To an individual web service to apply it to that service
- To a specific operation that you would like to capture roll-up data for
Step 5: Test Policy and View Monitoring Data
After you've attached the Metrics Policy to a service or operation, send a request to your service and go to the Services > Monitoring section to view the results for Logs, Real Time Charts, and Historical Charts.
Activating a policy
When you create and configure a policy, the policy is in Draft state. When the policy configuration is complete, activate the policy: click Activate Policy and then confirm. See Activate a Policy.
A policy in Draft state is not available for general use. Once you activate the policy, it is in Active state and is available for use.
Attaching a policy
To use the policy, go to the Policies folder in the respective organization and attach the policy to a web service, binding, or binding operation.